In my first look at the Nikon ZR, I said the real test would come in Montreal — solo street and documentary shooting, away from anything I could control. That trip has now happened. This is what changed once the camera left the studio.
Packing Lighter for the Street
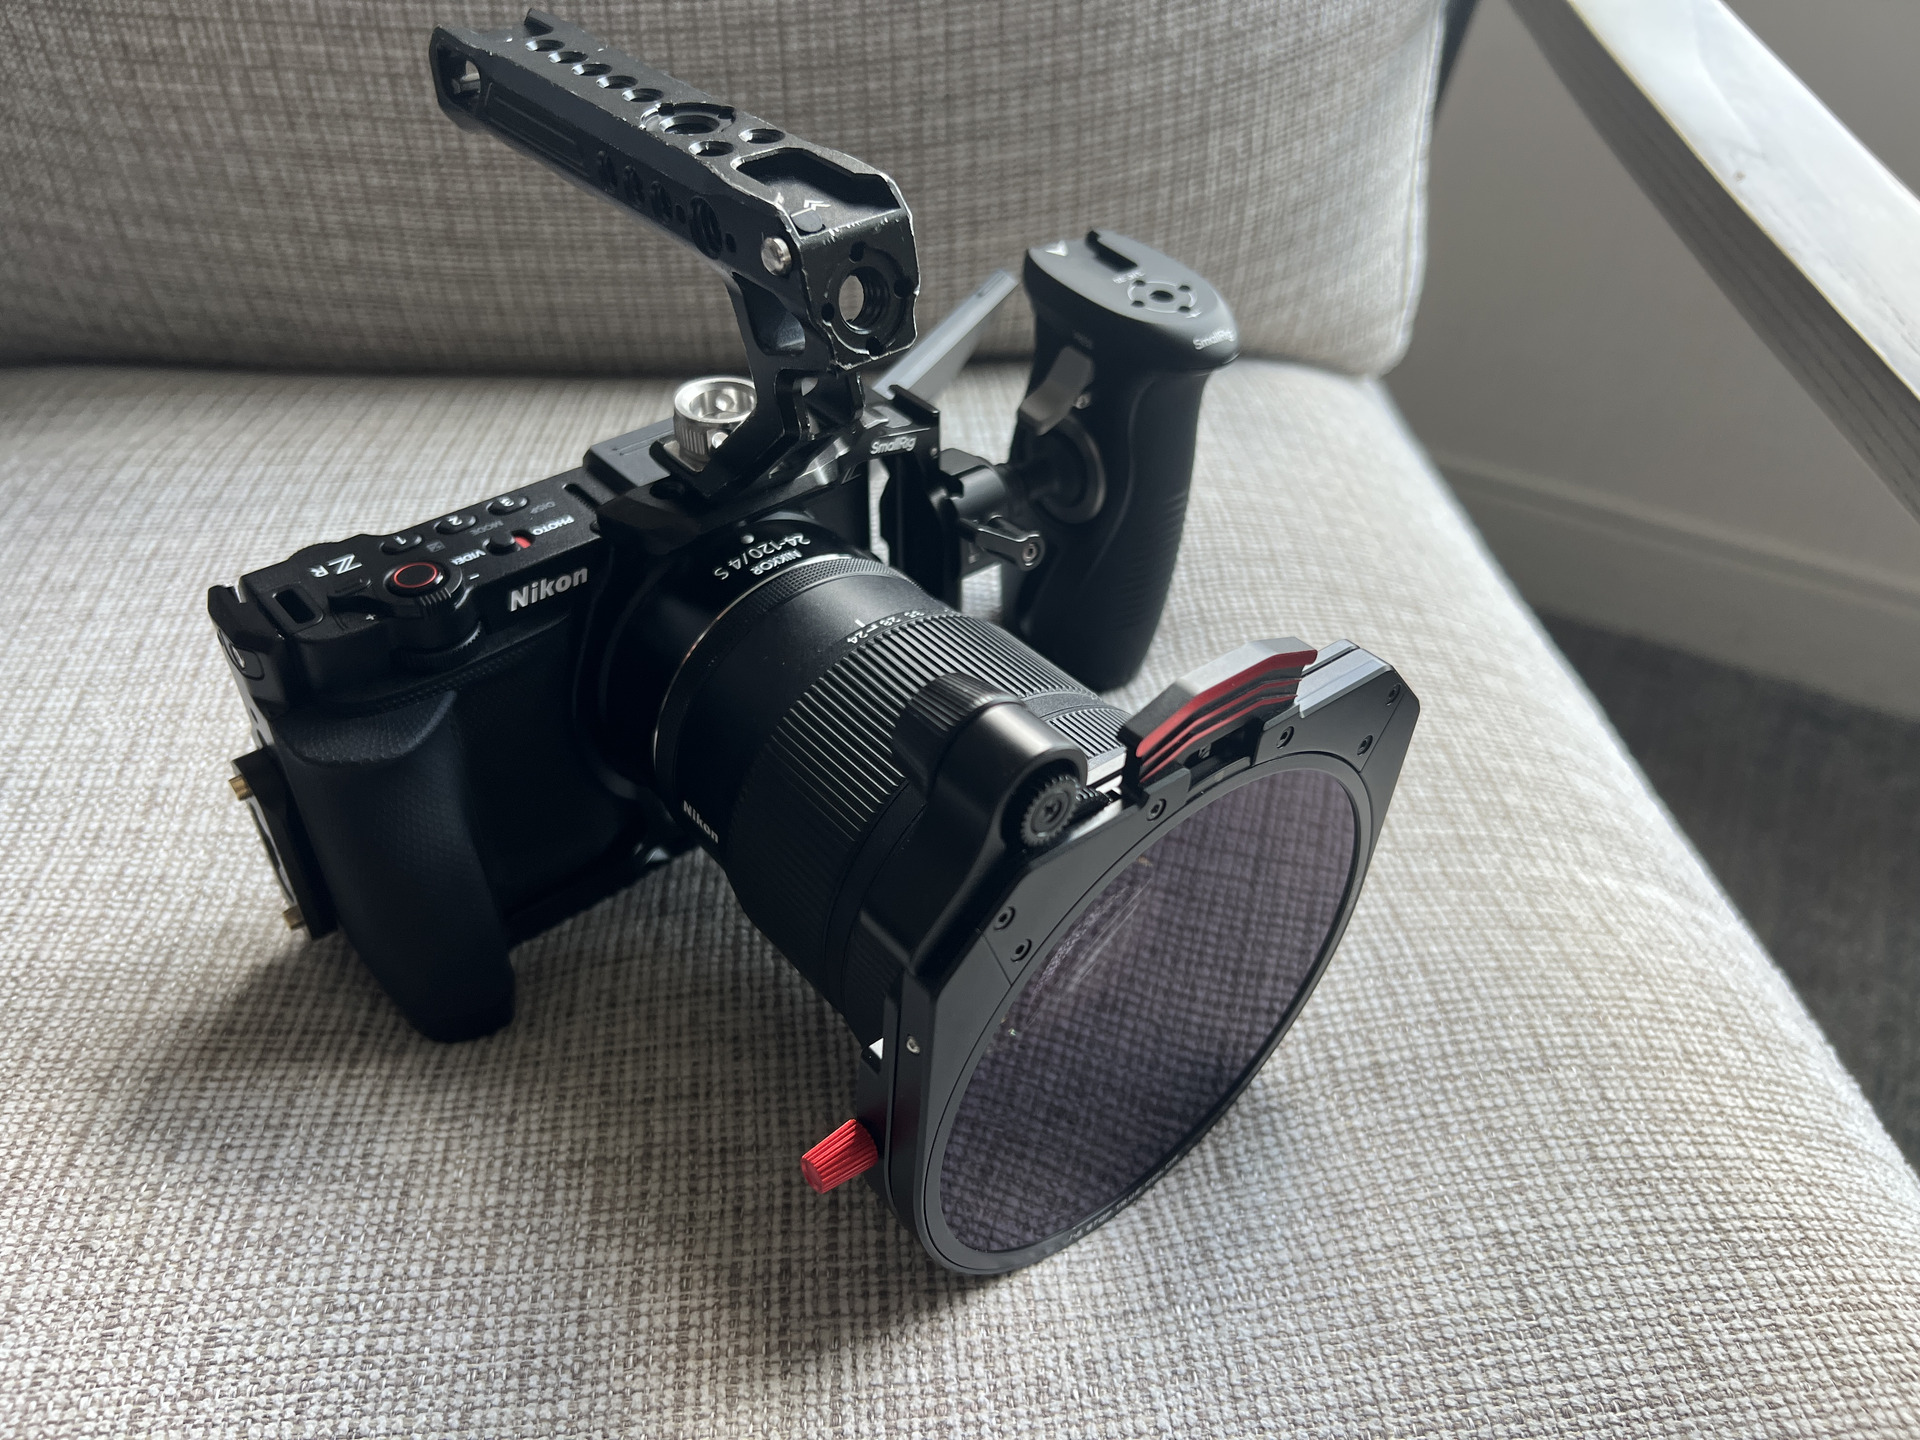
The full rig I described in the last post isn't what came with me. Walking and shooting on foot, solo, I stripped it back to only what I needed: the SmallRig cage, top handle and side grip stayed, but the V-mount battery, the Freewell Eiger Pro matte box and the Rode shotgun mic all got left at home.
In their place, a single Nikon battery did the job — it lasted a few hours at a time, which was enough between charges — and I swapped the full matte box for Freewell's more portable variable ND holder, the one built for exactly this kind of run-and-gun situation rather than a controlled set. Less weight, less bulk, and nothing on the rig I didn't reach for.
One Lens for the Whole Trip
I shot the entire trip on the NIKKOR Z 24-120mm f/4 S. No lens changes, no second body, no time lost swapping glass on a street corner. For travel and street work, one versatile zoom that covers wide to short telephoto matters more than a bag full of primes you won't have time to use.
Shooting R3D Outside a Controlled Environment
Everything was recorded in R3D NE at 4K — mostly at 30fps for general coverage, switching to 120fps when I wanted the option of slow motion in the edit. The point of the trip was to see how that workflow holds up away from a studio: changing light through the day, moving subjects, no second takes. R3D gives me the latitude to fix exposure and white balance choices later, which matters when you're shooting fast and don't always get to check the shot properly before moving on.
"No control over the light, the crowd or the weather — that's the point. It's the only way to actually find out what a camera is like to work with."
Old Montreal
Old Montreal was the obvious place to spend most of my time — cobbled streets, the old port, a mix of architecture you don't get at home, and enough foot traffic to keep finding new things to shoot without repeating myself. It's a good part of the city to explore with a camera, and a fair test of a run-and-gun kit: narrow streets, changing light between buildings, and subjects who aren't posing for you.
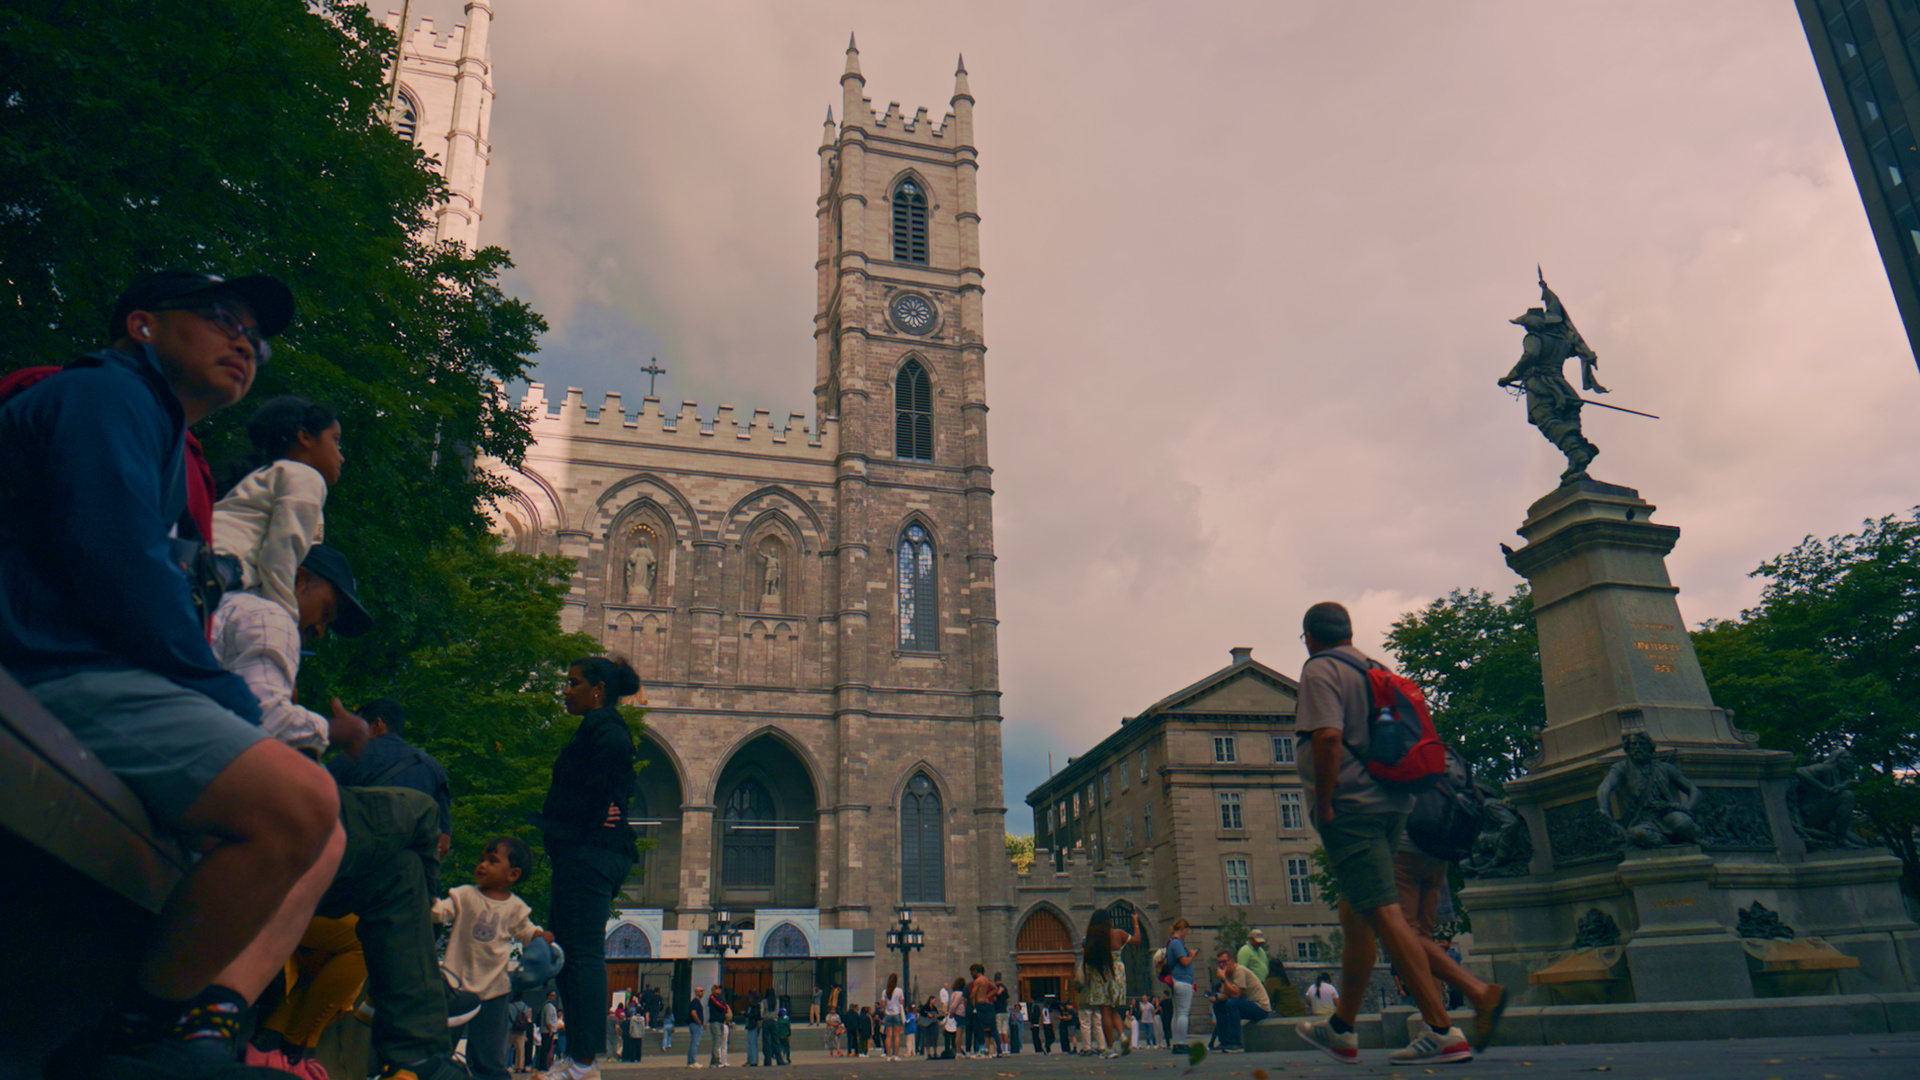
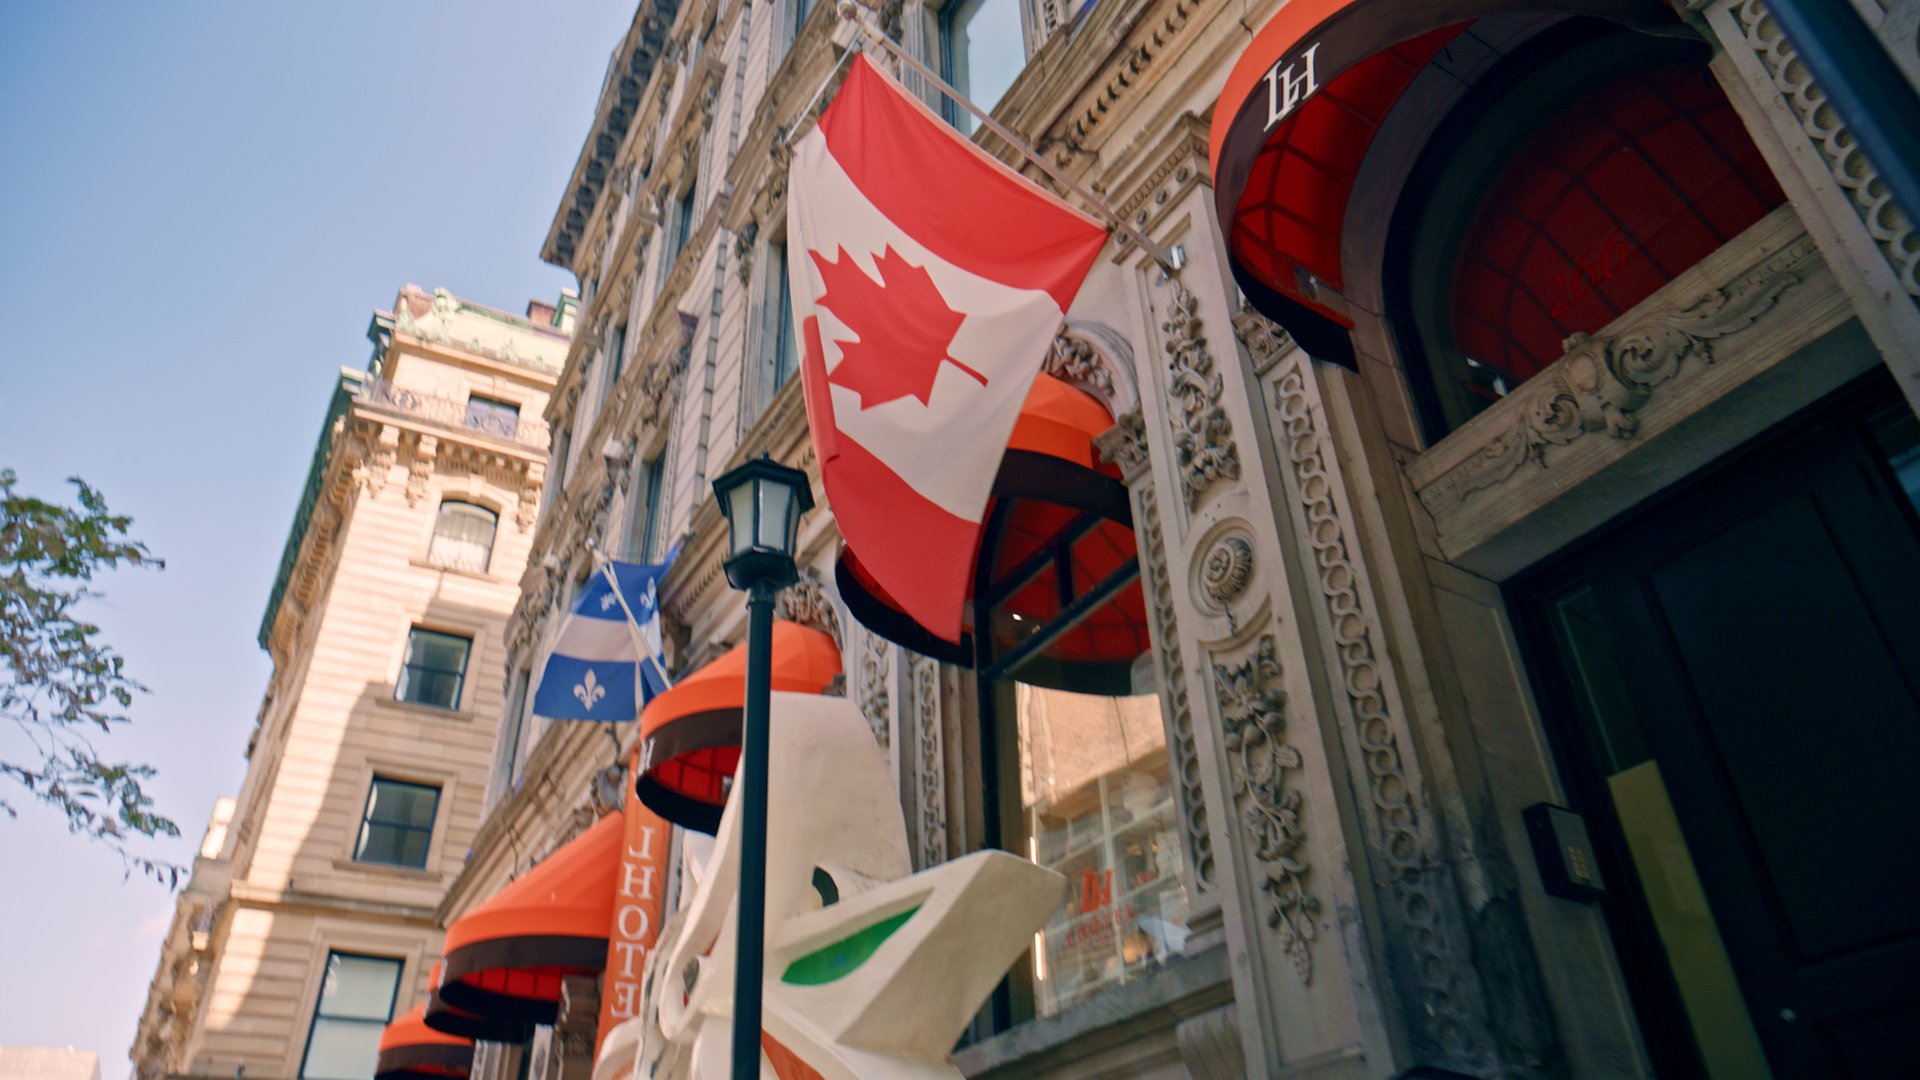
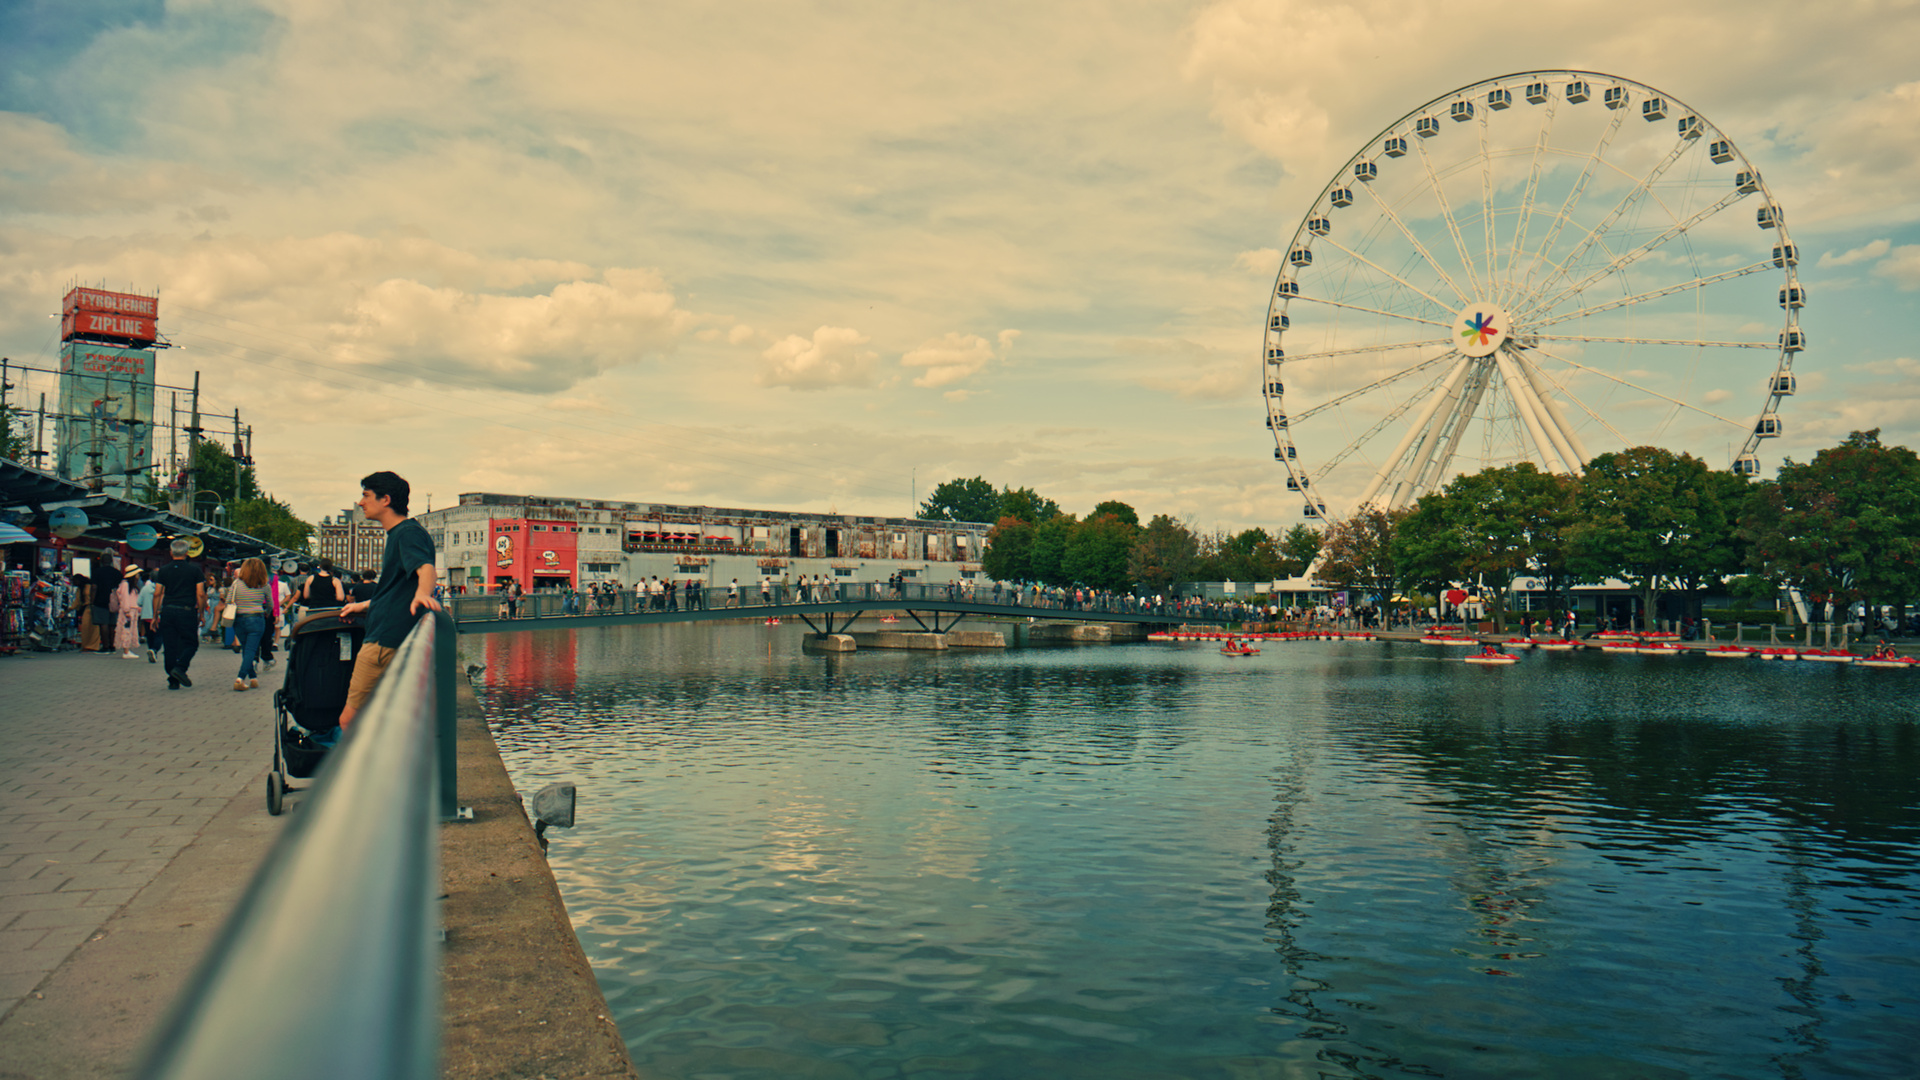
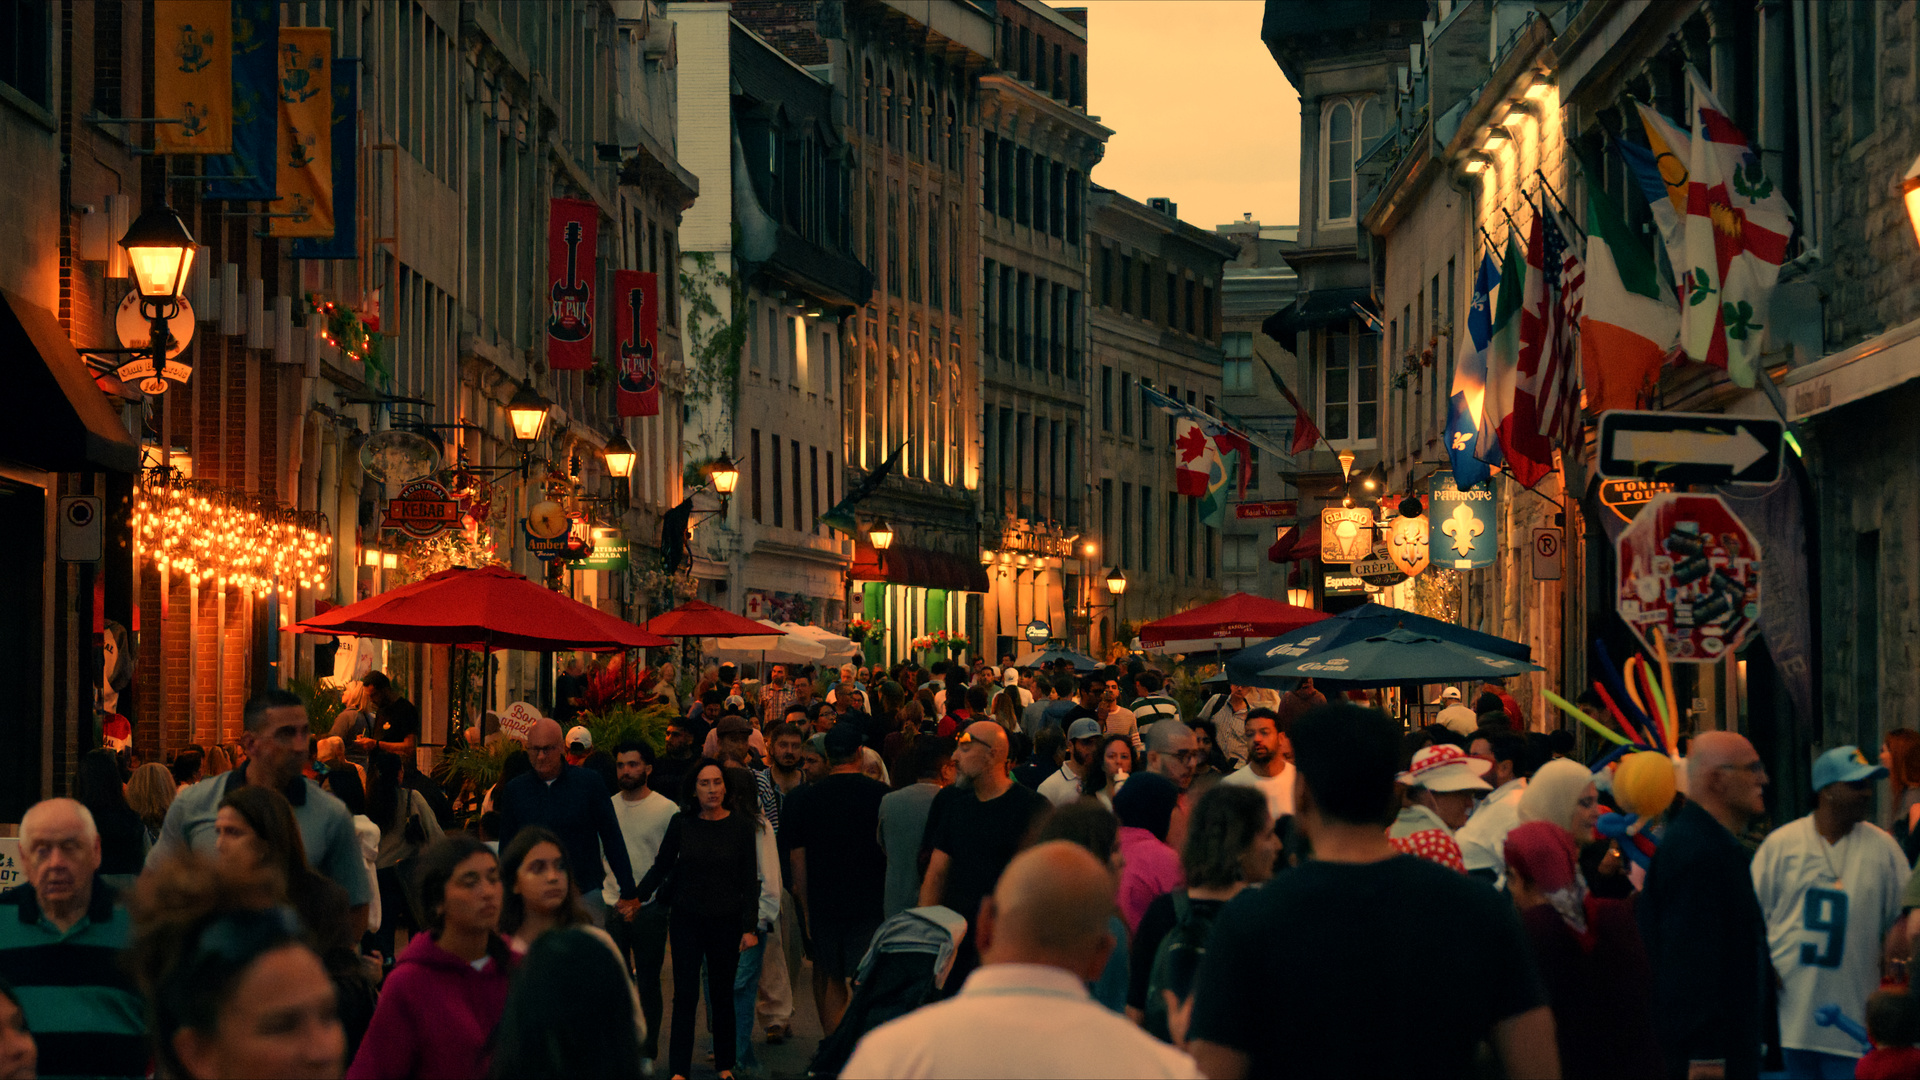
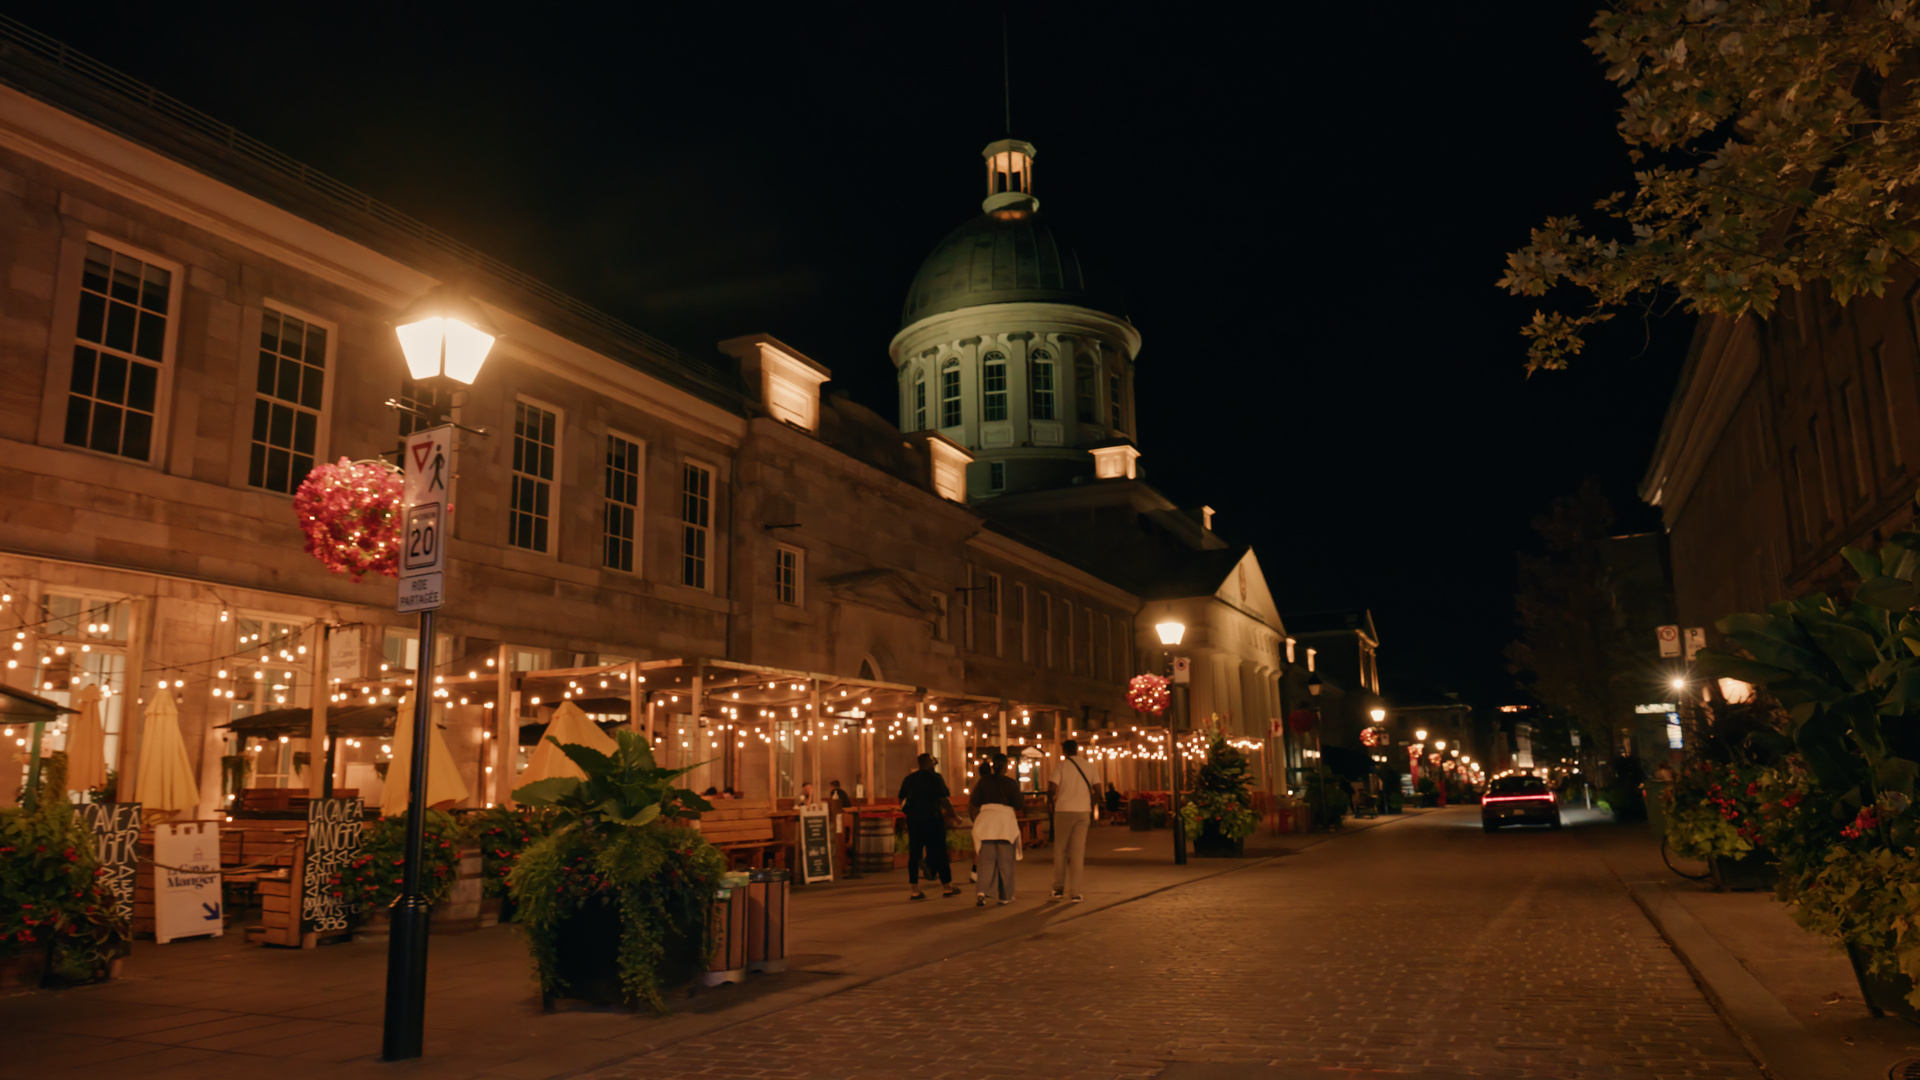
Daylight or after dark, the ND made the difference — able to hold a wide aperture on a bright afternoon by the Old Port, then pull it back off for the market square at night without changing anything else on the rig.
The Colour: What 12-Bit R3D NE Actually Gives You
One thing I didn't fully appreciate until I got this footage into the grade: R3D NE records at 12-bit colour depth, and it shows. There's a richness to the foliage and the warm brick and stone of Old Montreal's older buildings that reminds me of shooting with Fujifilm cameras years ago — that same "straight out of camera" colour Fuji is known for, where it looks right before you've touched a single slider. R3D NE gets there differently, since it's RAW rather than a baked-in colour profile, so none of it is free — it's built in the grade, not captured that way — but the result after grading has the same quality: skies hold their gradient instead of banding, and the city's stone doesn't flatten to grey. The stills through this post — the Old Port in daylight, Bonsecours Market at night, the defocused night traffic — are all graded from that 12-bit R3D NE colour, and they're the clearest evidence I have so far that the extra bit depth isn't just a spec-sheet number.
Final Thoughts
The stripped-back kit performed better than I expected going in. Smaller and lighter than the full rig, it fit into a rucksack rather than a dedicated case, and it was noticeably easier to handle and less intrusive on the street than the full build would have been.
It also drew its own kind of attention. A few people stopped to look at the setup, curious about the camera and the rig, and one person asked outright what it was and how much it cost — impressed once I told them. Not what I expected from a smaller kit, but a good sign for how approachable it looked next to a full cage and matte box.
What's Next: The Edit
I'm currently cutting the footage in DaVinci Resolve for a video that will sit on the rebuilt site. Once it's ready, I'll link it here rather than duplicate the write-up — better to see the R3D footage graded and cut together than described in a blog post.
Curious how the Nikon ZR held up outside a controlled shoot, or thinking about a similar kit for your own travel or documentary work? Get in touch: contact@niteshmistry.co.uk.